Version basis: written 2026-08-23, against patch 1.1.0.0 of 3 August 2026 and Season 1: KORD BREACH. This page contains no ammo values, no trader level requirements and no loot prices, because those move with every patch. Everything below is procedure, and procedure survives a wipe.
The single change that makes early raids stop feeling random: decide your extract before you decide your loot. A raid you leave alive with two items is a better raid than one you die in with twenty, and for the first ten raids the only score that counts is how many times you got out. Everything in this checklist is downstream of that one rule.
Before the raid loads
Do these in order. Each one takes under a minute and each one removes a specific way the raid ends badly.
- Check the map screen and pick two extracts — a primary and a backup on the opposite side of the map. If you can only name one, you have no plan; you have a hope.
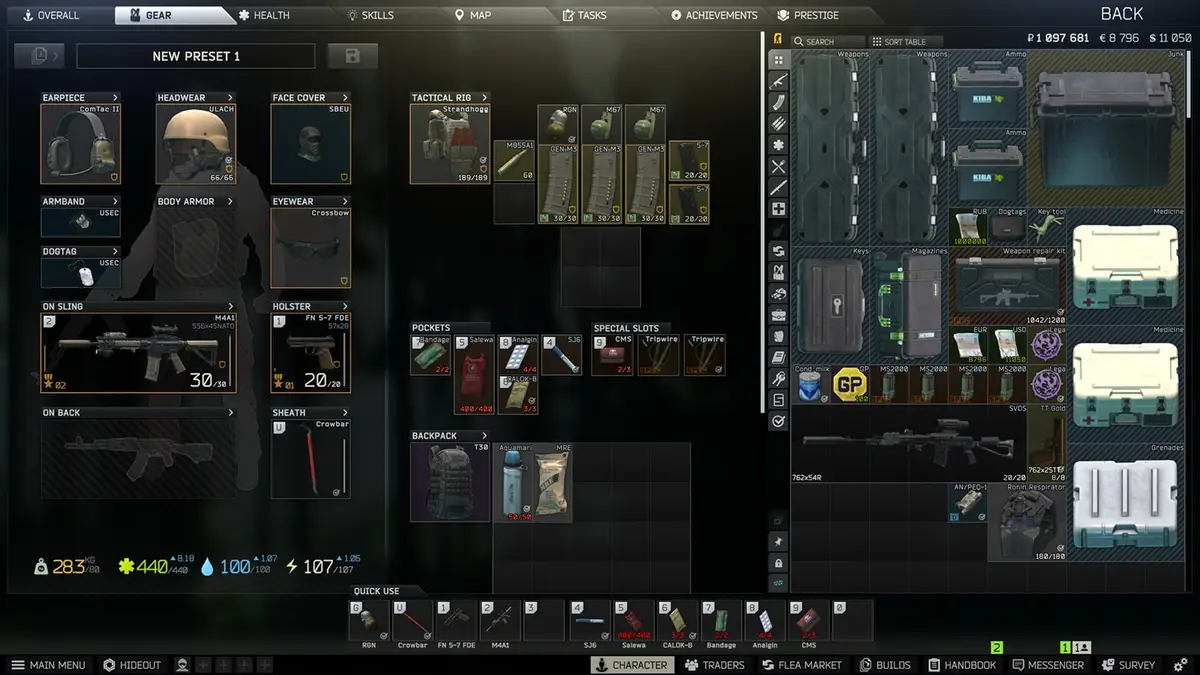
- Fill the secure container first. Whatever you put in the small protected container stays with you when you die. Meds, a spare key, and money belong there before anything else goes in the backpack.
- Bring exactly one loadout you would not mind losing. If you are hesitating over the kit, it is too expensive for raid three.
- Check whether any active task is on this map. If yes, that is the raid’s objective. If no, the objective is the extract, and that is a valid objective.
- Water and food in the bag, not just in the stash. Hydration and energy drain across the raid, and a new player is usually in-raid longer than a veteran.
Once you are in
The first minute after spawn decides more than the next thirty. New players do the same three things wrong, and all three are correctable by habit rather than by skill.
- Do not sprint from spawn. Sprint noise is the loudest thing you produce, and the first two minutes are when other players are closest to their own spawns. Walk, listen, then move.
- Do move to a landmark before looting. Knowing where you are is worth more than the contents of the first container you pass. If you cannot name your position, do not open a bag.
- When you hear a gunfight: go the other way. Third-partying a fight is an advanced move that works because both parties are damaged. It is also how a raid ends when you are still learning which direction sound comes from.
- If you take a hit, stop and treat it before repositioning. Bleeding costs more health over thirty seconds than the shot itself did.
- If you get lost, pick a direction and commit. Wandering in circles burns the raid timer, and running out of time counts as a death for everything you are carrying that is not in the secure container.
Deciding when to leave
This is the branch that new players get wrong most often, because leaving early feels like wasting a raid. It is not. Use whichever of these triggers comes first.
- Your backpack is full → leave. Nothing you can pick up now improves the run more than banking it.
- You completed the task you came for → leave, even if the bag is empty. Task progress is the thing you cannot buy back.
- You are below roughly half health with no meds left → leave. You cannot win the next fight and you know it.
- A quarter of the raid timer remains and you are not near an extract → leave now, because the walk is always longer than it looks.
- None of the above and you feel confident → keep looting, but re-check the timer every time you open a container.
What the first ten raids are actually for
Treat them as a survey, not as income. By raid ten you should be able to answer, without opening a map: where you spawned, which two extracts you used, and one landmark on each route between them. That is the whole curriculum. Loot, gear and money follow from map knowledge and never lead it.
Two things worth setting expectations on. First, dying is not a mistake in this game; dying without learning where you died is. Second, your survival rate in the first week is a number that tells you nothing about whether you will enjoy the game — the players quoted in every “how do I get better” thread had the same first week.
If you are on a seasonal character, the raids you spend learning are also raids you are spending against a deadline, and that is worth pricing before you commit — the season time planner turns the deadline into a raid count. If your seasonal roll makes the learning phase harder than it should be, the modifier trade-off scorer is the page for deciding whether to keep the roll.
What this page deliberately does not tell you
- No map-specific extract names. Extract availability changes with spawn and with patch, and a wrong extract name is worse than no extract name. Read them off the in-raid map screen.
- No ammo or armour recommendations. Those numbers changed in 1.1.0 and will change again.
- No “best starting loadout”. The correct starting loadout is the cheapest one you will actually take into a raid without hesitating.
Sources
- How to Play Guide for Escape from Tarkov — Escape from Tarkov Wiki — the wiki’s own new-player guide, the basis for the pre-raid ordering above.
- Secure container — Escape from Tarkov Wiki — confirms that secure container contents are retained on death, which is why step 2 comes before the backpack.
- Health system — Escape from Tarkov Wiki — bleeding, hydration and energy mechanics behind the in-raid rules.
- Patch 1.1.0.0 — Escape from Tarkov official news — the patch and season this page is written against.